Table of Contents
ToggleLearning how to Nintendo 64 might seem old-school, but this classic console still delivers some of the best gaming experiences around. Released in 1996, the N64 introduced millions of players to iconic titles like Super Mario 64, The Legend of Zelda: Ocarina of Time, and GoldenEye 007. Today, retro gaming enthusiasts and newcomers alike are rediscovering what made this system special.
Whether someone found an N64 in their parents’ attic or picked one up at a thrift store, getting it running on a modern setup takes a few extra steps. This guide covers everything needed to connect, play, and troubleshoot a Nintendo 64 in 2025.
Key Takeaways
- To play Nintendo 64 games, you need the console, AC adapter, AV cable, at least one controller, and game cartridges.
- Connecting a Nintendo 64 to modern TVs requires composite-to-HDMI adapters or dedicated upscalers like RetroTINK for the best picture quality.
- Most N64 games use the center and right controller prongs, placing the analog stick under your left thumb for gameplay.
- Clean dirty cartridge contacts with 90%+ isopropyl alcohol to fix most game loading failures.
- Battery-backed cartridge saves can fail over time—replace the internal battery to restore save functionality.
- Worn analog sticks are common on used controllers, but affordable GameCube-style replacements offer improved durability.
What You Need To Get Started
Before powering up, players need to gather the essential components. Here’s what’s required to play Nintendo 64 games:
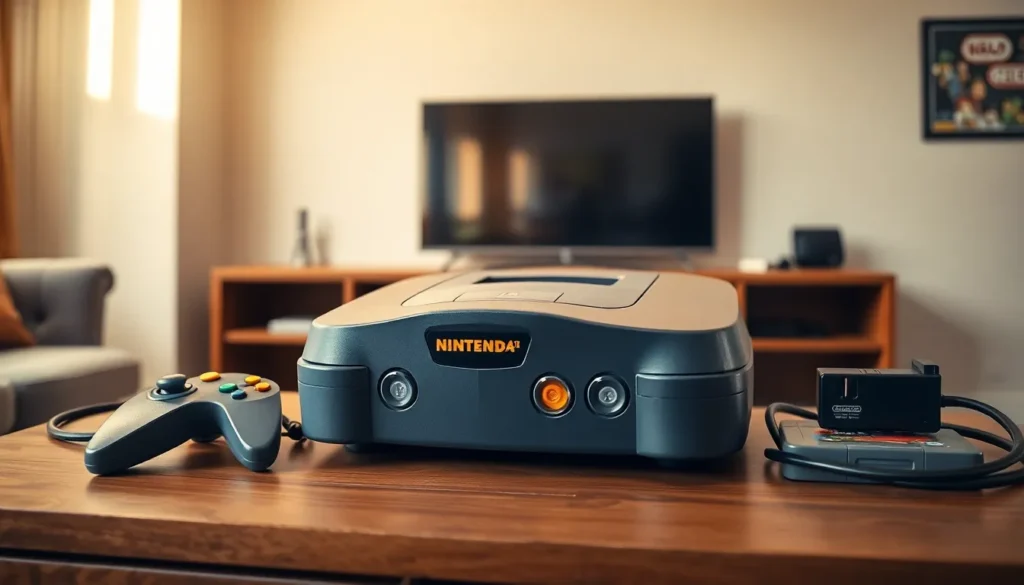
The Console Itself
The N64 unit should include the power supply (AC adapter) and the AV cable. These parts are console-specific, so generic replacements may not work correctly. The power supply connects to the back of the unit, while the AV cable handles video and audio output.
Controllers
At least one original N64 controller is necessary. The three-pronged design looks unusual, but it allows different grip positions depending on the game. Most titles use the center and right prongs, placing the analog stick under the left thumb. Players should check that the analog stick moves smoothly, worn sticks are a common issue with used controllers.
Game Cartridges
N64 games come on cartridges that slot into the top of the console. Before inserting any cartridge, inspect the contacts for dirt or corrosion. A quick wipe with a dry cloth often fixes read errors. Some collectors use isopropyl alcohol on a cotton swab for deeper cleaning.
Memory Cards (Controller Paks)
Certain games require a Controller Pak to save progress. This accessory plugs into the back of the controller. Not every game needs one, many titles save directly to the cartridge, but having a Controller Pak ready prevents frustration.
A Television
Any TV with composite inputs (the red, white, and yellow ports) will work. Modern TVs often lack these connections, which creates additional setup requirements covered in the next section.
Connecting Your Nintendo 64 To A Modern TV
Getting a Nintendo 64 to display on a contemporary television presents the biggest challenge for new users. The console outputs a 240p/480i signal through analog connections, and most modern TVs expect digital input. Here’s how to handle both scenarios.
Using AV Cables
The standard N64 AV cable splits into three color-coded plugs: yellow for video, and red and white for stereo audio. To connect using AV cables:
- Plug the multi-out connector into the back of the N64
- Connect the yellow plug to the TV’s yellow composite video input
- Connect the red and white plugs to the corresponding audio inputs
- Switch the TV to the correct input channel (often labeled “AV” or “Video”)
- Power on the console with a cartridge inserted
If the TV only has a single audio input, use the white plug for mono sound. Some televisions hide composite inputs inside a component input cluster, the green port often accepts composite video signals. Check the TV’s manual for specifics.
The picture quality through composite cables looks soft and slightly fuzzy on large screens. This was less noticeable on older CRT televisions, but modern displays emphasize the low resolution.
Upgrading With Adapters And Upscalers
For sharper visuals and easier connections, adapters and upscalers offer significant improvements when playing Nintendo 64 games.
Composite-to-HDMI Adapters
Budget adapters convert the analog signal to HDMI for around $15-30. They work, but image quality remains limited by the source signal. Input lag can also occur with cheaper models, making timing-sensitive games feel off.
S-Video Cables
The N64 supports S-Video output, which separates color and brightness information. This provides a noticeable upgrade over composite. S-Video-to-HDMI adapters exist for TVs without native S-Video ports.
Dedicated Upscalers
Devices like the RetroTINK line process retro console signals and output clean HDMI. They handle the Nintendo 64’s unusual video quirks better than generic converters. Prices range from $70 to $300 depending on features. Serious retro gamers consider these essential.
Internal Mods
Advanced users install HDMI modification boards directly into the console. These mods pull a digital signal before it becomes analog, producing the cleanest possible picture. Installation requires soldering skills or professional help.
Basic Controls And Getting Started With Games
The N64 controller confuses first-time users. Understanding its layout makes gaming much smoother.
Controller Layout
The controller has three grip positions:
- Left + Center prongs: Used for D-pad focused games
- Center + Right prongs: The most common grip, using the analog stick and face buttons
- Left + Right prongs: Rarely used
Key buttons include:
- A and B: Primary action buttons
- C buttons: Four yellow directional buttons for camera control or secondary actions
- Z trigger: Located under the center prong, often used for targeting or crouching
- L and R shoulder buttons: Context-dependent functions
- Start: Pauses games and accesses menus
Starting A Game
To play a Nintendo 64 game:
- Insert the cartridge with the label facing forward
- Press down firmly until it clicks into place
- Turn on the power switch at the front of the console
- The game should boot within seconds
If nothing appears, remove the cartridge and reinsert it. Dirty contacts cause most boot failures.
Saving Progress
Games handle saves differently. Battery-backed cartridges save automatically to internal memory. Other titles require a Controller Pak. The game’s manual explains which method it uses, though most popular N64 games use cartridge saves.
Troubleshooting Common N64 Issues
Even well-maintained systems develop problems. Here are fixes for frequent Nintendo 64 issues.
No Picture Or Sound
- Verify all cables connect securely
- Test with a different game cartridge
- Clean the cartridge slot with compressed air
- Try a different TV input or cable
Game Won’t Load
Dirty cartridge contacts cause most loading failures. Clean the game’s metal contacts with 90%+ isopropyl alcohol and a cotton swab. Let it dry completely before reinserting. Repeat if necessary.
Wobbly Or Unresponsive Analog Stick
The N64’s analog stick wears down with use. Replacement sticks are available online. GameCube-style analog replacements offer improved durability. Installation requires basic screwdriver work.
Controller Not Responding
Unplug and reconnect the controller. Test a different controller port. Check the controller’s cable for damage near the connector.
Blurry Or Distorted Picture
This often indicates a failing AV cable. Replacement cables cost under $10. Aftermarket cables sometimes perform worse than originals, so check reviews before buying.
Save Files Disappearing
Cartridges with battery-backed saves eventually lose their charge. Replacing the internal battery requires opening the cartridge, a simple process with the right security bit screwdriver. Controller Pak saves also degrade if the unit sits unused for extended periods.